
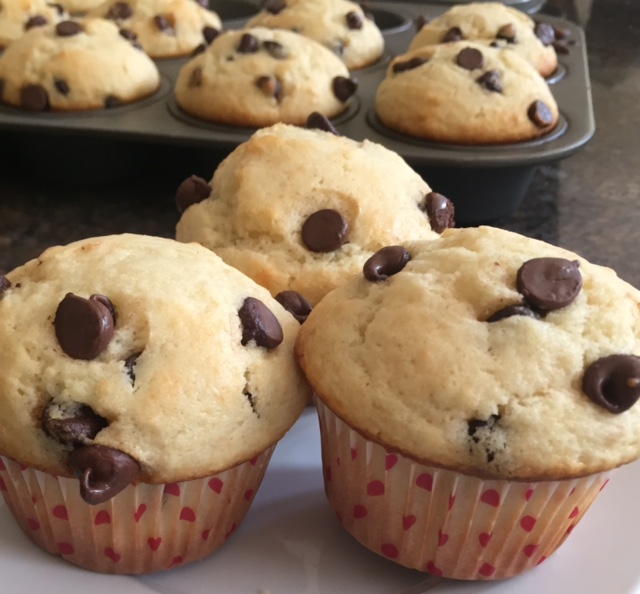
The infamous Lucy Jane woke up this morning and wanted chocolate chip muffins. As a mother who never lets her children down (oh how I wish that were true), I indulged. We actually made them together and it was fun to be in the kitchen with my daughter making breakfast (or dessert, depending on your perspective). We decided to double the recipe so that we could freeze a dozen and use them for snacks in their lunches for the upcoming week.

The secret to these moist, tasty muffins is the buttermilk! You can use whole or regular milk, but these babies texture and taste are best when the buttermilk is used. And since we all are chocolate lovers in this house, I don’t skimp and use the mini chocolate chips. But if you are not into eating dessert first thing in the morning, the mini chips may be a good idea for you. 🙂
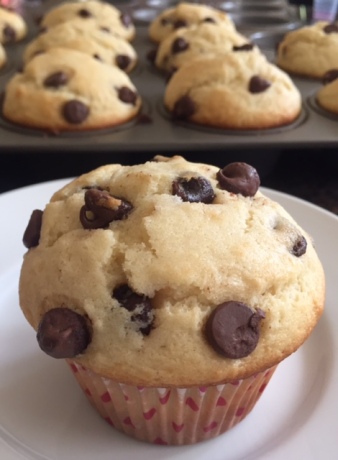
Bakery Style Chocolate Chip Muffins
Preheat oven to 425 degrees
- 2 1/2 cups all purpose flour
- 1 Tablespoon baking powder
- 1 teaspoon baking soda
- 1/2 teaspoon salt
- 1/2 cup butter, melted and cooled
- 1 cup sugar
- 2 large eggs
- 1 cup buttermilk
- 1 Tablespoon vanilla
- half a bag of semi sweet chocolate chips
In a large bowl, whisk together flour, baking powder, baking soda, salt and chocolate chips. Set aside. In a medium bowl, mix together melted butter, sugar, eggs, buttermilk and vanilla. Mix the dry ingredients into the wet ingredients and gently fold together until combined. Scoop batter into a 12 cup muffin tin. Fill the cups close to the top. Bake the muffins at 425 for 5 minutes, then turn the heat down to 375 and bake for another 13-15 minutes.
Yields 1 dozen

")


